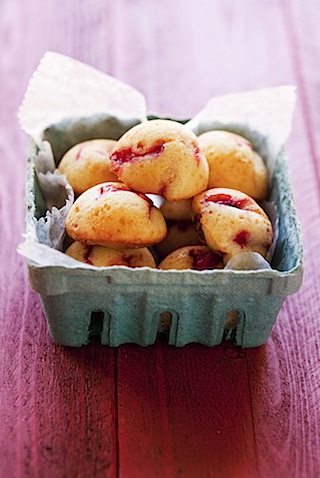
Breakfast Cook and Eat Cookbooks Doughnuts Food Recipe Sweet Doughnut Tea Cake with Rhubarb Orange Compote 13 years ago
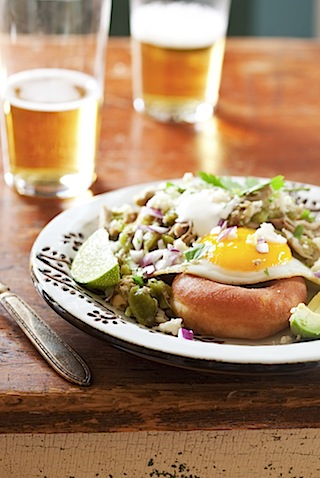
Breakfast Cook and Eat Cookbooks Doughnuts Food Lunch Recipe Savory Green Chile and Chicken Doughnuts 13 years ago